How To Hang a Timber Gate
Gates usually provide a dual function. To restrict access to certain areas or to keep in children and/or pets.
BIC offers a wide range of standard size timber gates. The choice depends on your specific requirements but the basic installation methods will be the same, whatever style you choose.
If you have any questions, either contact the trade stockist that supplied the gate or call our trade helpline on 01543-438217.
Tools Required:
- Tape measure
- Spirit level
- Power drill
- Suitable Fittings Pack usually purchased separately
Measuring For A Timber Gate
When measuring for a gate remember to add the two post sizes to the gate size and a further 20mm overall spacing to allow the gate to freely open and close.
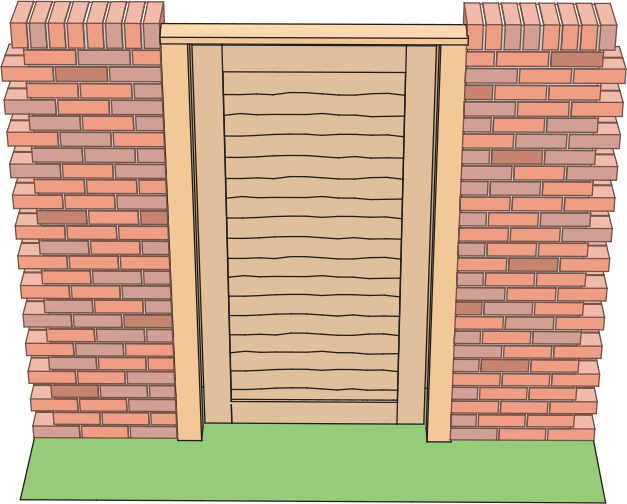
Free standing posts for 6’ gates should be at least 100 x 100mm (4” x 4”). Supported posts, either with a top cross member or at the sides, may be smaller. If using a top cross member, it should be at least 2m (6’ 6”) off ground level.
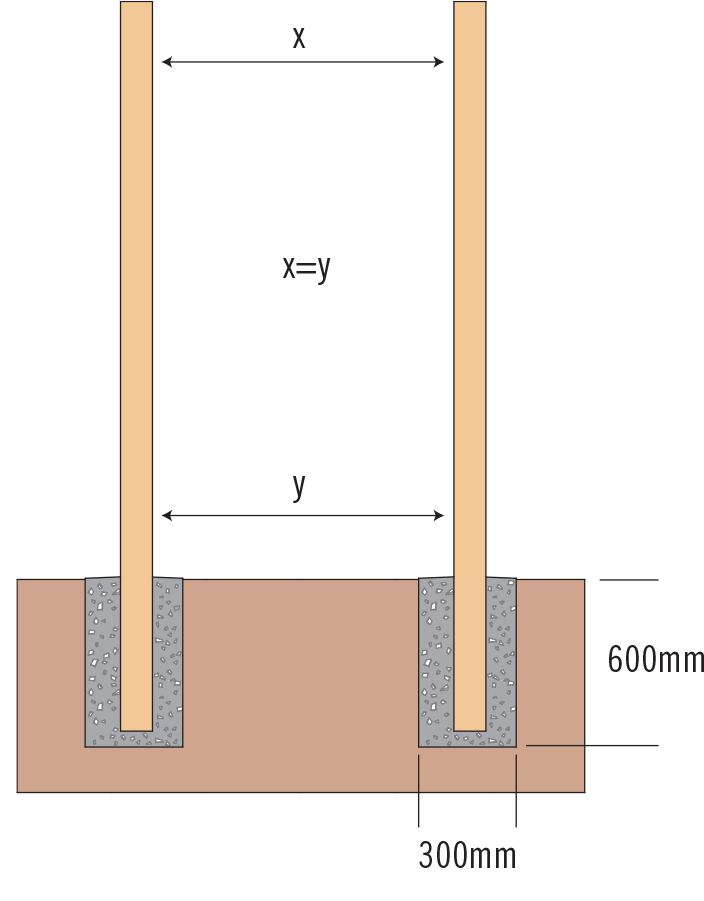
The hole size for each post should be 600mm deep and 300mm wide. Concrete in the posts with suitable post fix concrete.
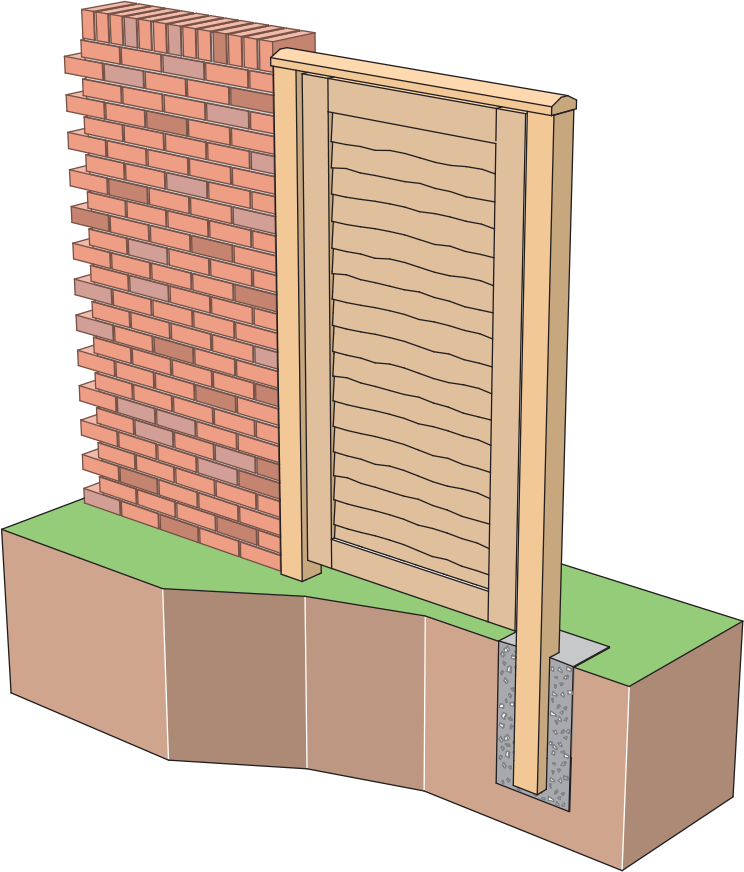
Posts may also be fixed to an existing wall.
Ensure the posts are vertically parallel before attempting to fit the gate.
Fitting The Timber Gate
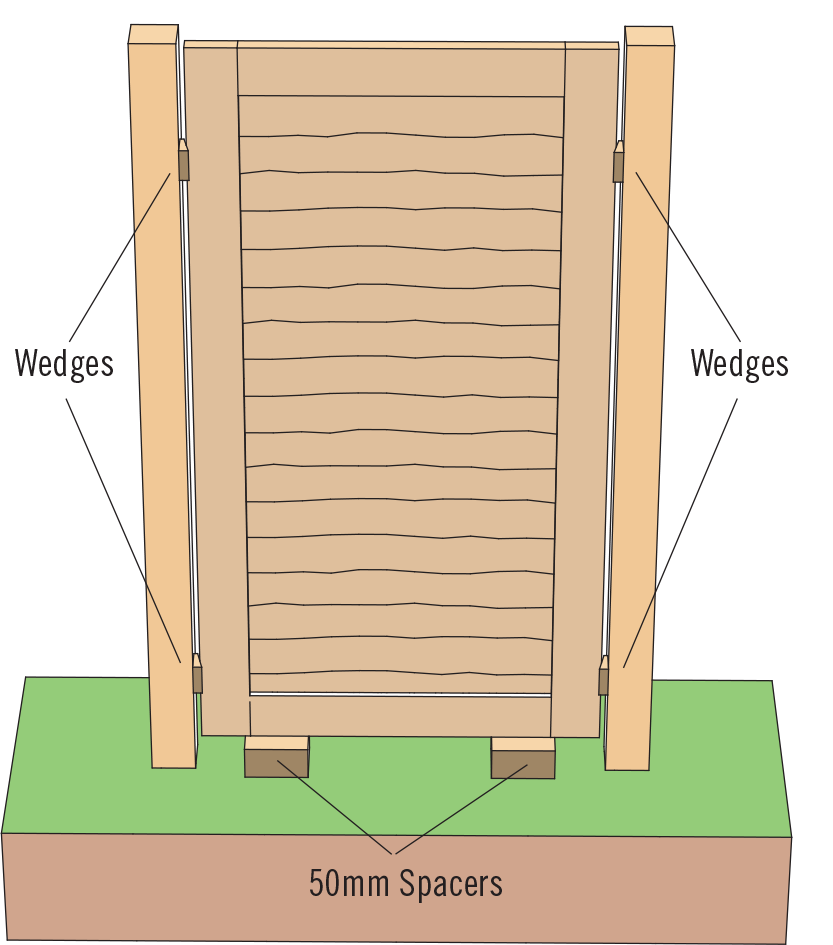
Position the gate between the posts and place some 50mm packers under it. Allow for any unevenness in the ground when the gate is opened.
Now place wedges either side of the gate to even out the gaps either side and to hold the gate in place while fitting the hinges (3).
Fit the hinges, taking care to ensure that the gate opens as intended. Remove all spacers and wedges and check that the gate swings freely.
Fit the latch to the gate at the preferred height and in a position where the gate can support the screws. Fit the keep to the post.
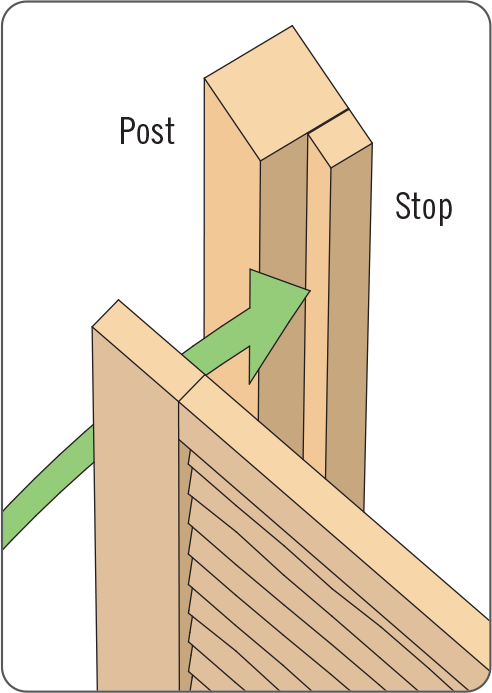
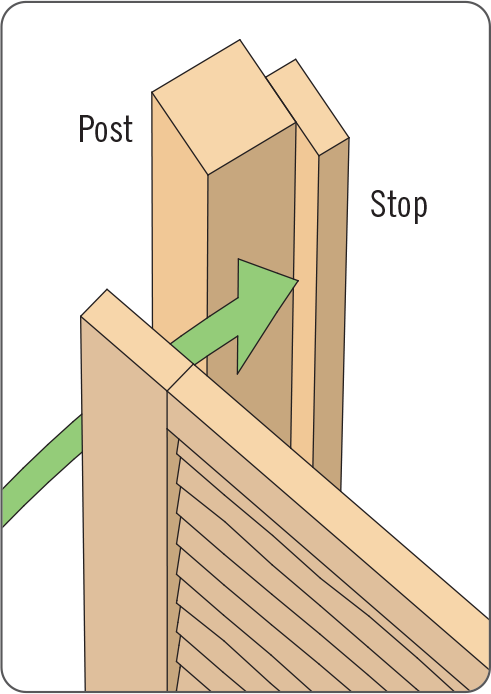
Finally, fit a gate stop to the frame/post to protect the hinges and latch from damage.
